By April D. Ray
Before you even start clipping, good tool care should be your top priority. Whether you’re giving your horse a full body clip or simply neatening up, sharp, clean, and well-lubricated blades will produce smoother results and help your equipment last longer. Take a moment to inspect the clippers and cords for any wear or damage before switching them on.
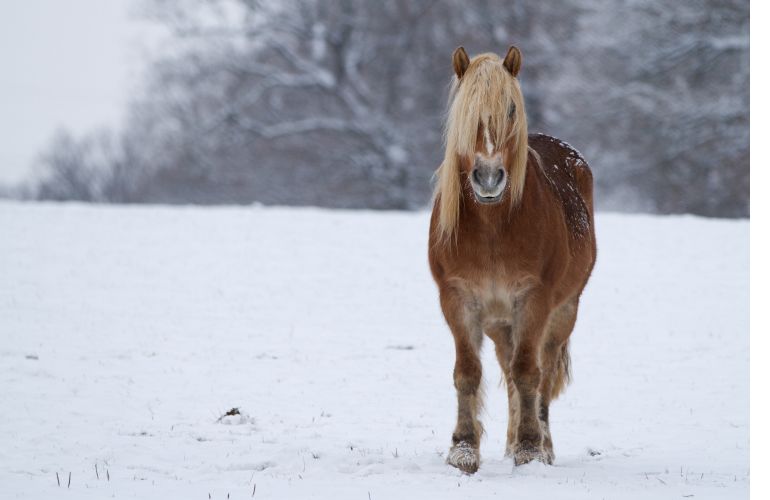
If your horse is wearing a thick winter coat or you’re sprucing up before show season, even a short trimming session can dramatically improve their appearance. Focus on areas like the jaw, cheeks, ears, bridle path, and legs for a tidy, professional finish.
For horses new to clippers, a light trim is an excellent way to introduce them to the experience. The sound alone can be startling, so allow plenty of time for your horse to get comfortable with the noise before you begin. The vibration can also take getting used to. Some horses—like my mare, Fire Foot MR5—handle clipping calmly, while others need patience, gradual desensitization, or, in certain cases, sedation to ensure safety for both horse and handler.
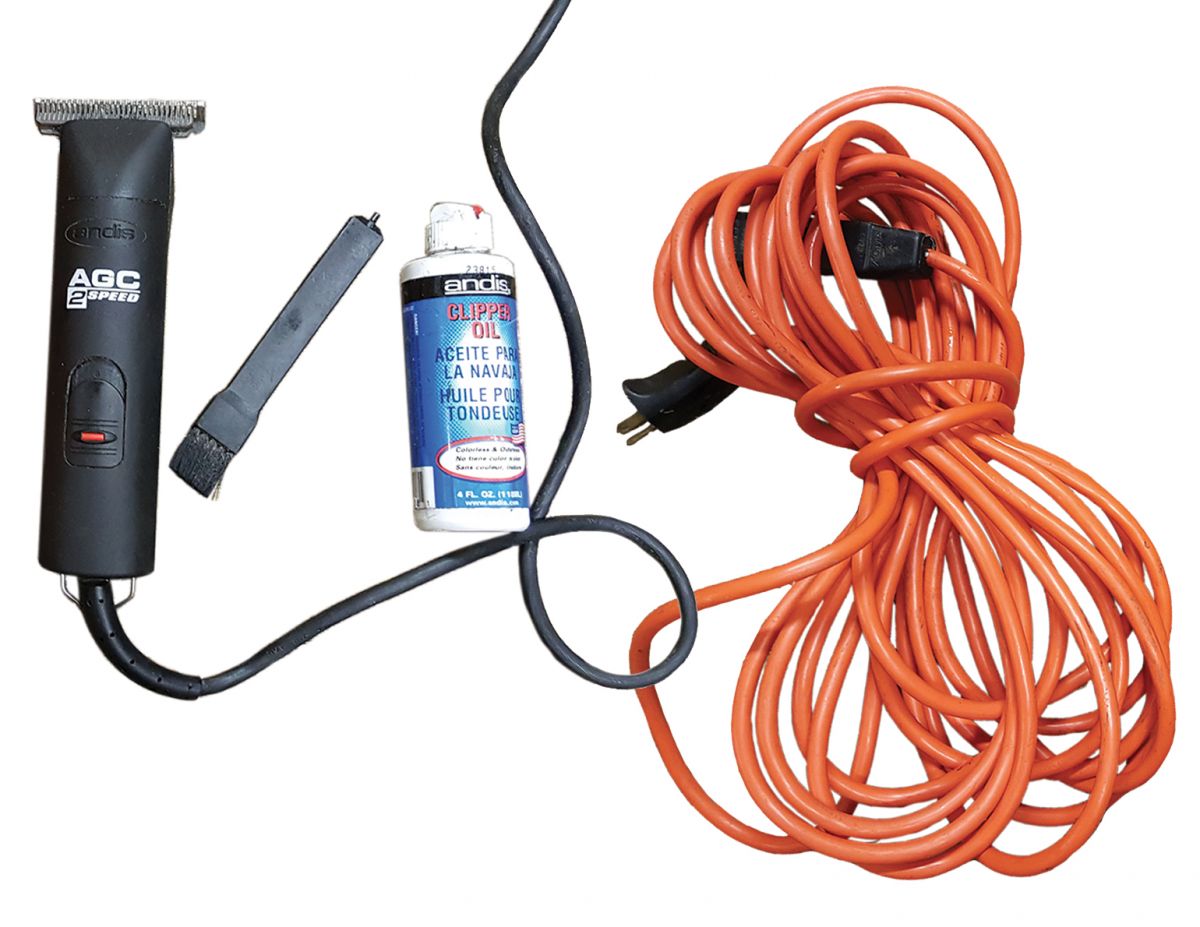
You will need:
- Clippers
- Extension cord
- Blade oil
- Brush to clean blades
- Stool
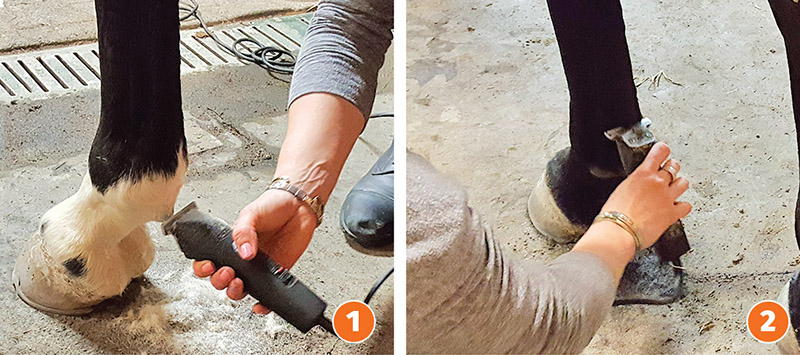
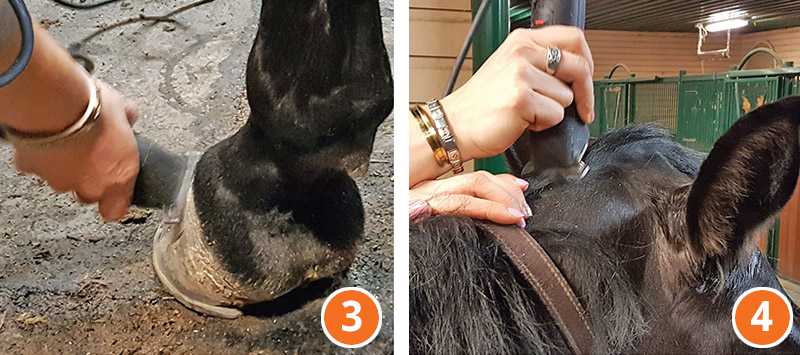
Make sure your horse is clean and dry before clipping. For this type of job, I find it’s easiest to start at the legs. This gives the horse a chance to get used to the sound of the clippers before going to their face, which can be more challenging to work around. Clipping around the bottom of the fetlock and the ergot will clean up the look of the legs, especially if they have long feathers there (Photo 1). You might also need to do a quick pass of the clipper down the backs of the legs, depending on how long the hair has grown (Photo 2). You will want to come at each leg from every angle to get all the excess hair, and it’s helpful to clip the inside of each leg from the opposite side of the horse, if safe to do so. You can also trim the hair around the coronet band if it’s exceedingly long (Photo 3).
Related: How to Train a Horse's Mane
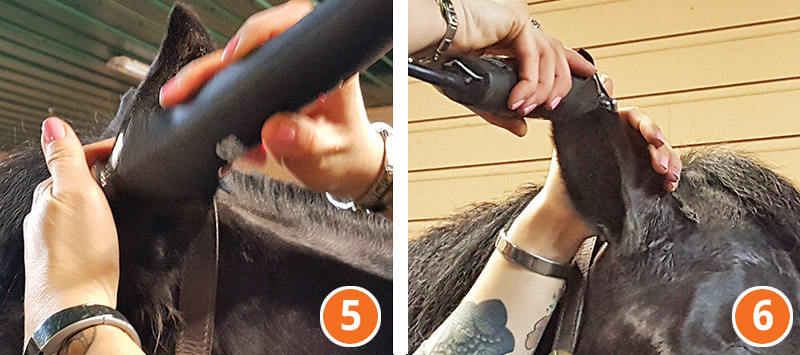
Keep the bridle path short, between two or three inches long, right where your bridle and halter will sit. Keeping a trimmed bridle path not only looks good but is more comfortable for your horse (Photo 4). Moving from the bridle path to the ears, I like to tidy up the hair without completely hollowing out the inside (Photos 5,6). Often this can be the most challenging part to clip on a horse; putting in ear stuffies to dull the noise can help, and just being patient and rewarding good behaviour will go a long way.
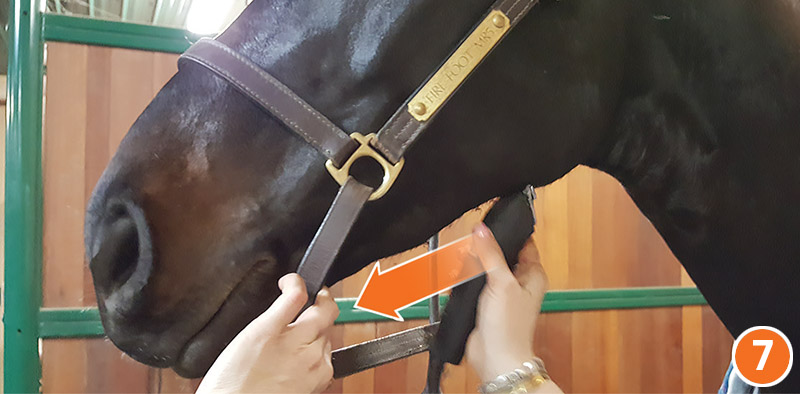
Finally, a quick clean up under the jaw and cheekbone. I like to clip here in a downward direction with the blades facing up (Photo 7). Since you are just cleaning up the long hairs in this area, doing this will avoid any obvious lines and blend much better. I leave the whiskers as I feel the horse needs them more than I need them gone, but that’s a personal choice. Now your horses’s transformation should be complete from wild and woolly to neat and tidy!
After each use, clean and oil your blades so they’re ready for the next time.
Related: Grooming at the Top
To read more by April Ray on this site, click here.
All photos are by Donald Peterson unless otherwise noted.
Main photo: Ella Degea Photography


