

Steer Your Horse to Straightness

Updated:
September 9, 2010With Cheryl Mitchell
By Jess Hallas-Kilcoyne
"A horse is said to be straight when he is moving forward with the head, neck, shoulder, rib, and hip in alignment," says top reining coach, trainer, and rider Cheryl Mitchell. "That alignment can be literally straight if you’re riding a straight line, but if you’re riding a circle, the horse’s body has to bend with the circle line to be considered straight.”
That being said, Cheryl cautions riders against asking for too much bend. “There should never be more bend in the horse’s body than there is in the circumference of the circle. When the bend in the body is equal to the circle line, the horse is straight.”
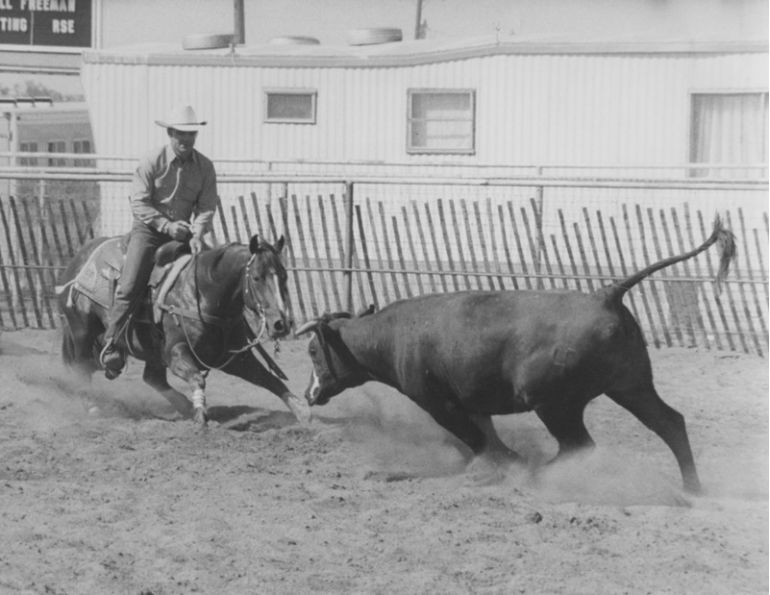
To Cheryl, making the reining horse straight not only benefits his physical and mental well-being, but enhances his performance as well. “A straight horse is better able to perform the maneuver you’re asking of him and responds with ease and without delay to the rider’s signals because he’s allowed to be more natural," she says. “Straightness in the stop allows the horse to slide farther and harder. Keeping the horse straight in the spin eliminates over-bending which has a slowing effect on the turn. Straightness on the circles keeps the horse from pushing his shoulder which can lead to unanticipated or delayed lead changes.”
To help clean up pushy shoulders on the circle and in lead changes, Cheryl recommends riding the Wagon Wheel Drill, which, she adds, can also benefit your spin by improving the horse’s responsiveness to the neck rein.
Exercise #1: Wagon Wheel Drill

Begin loping on a circle to the right, using the entire width of the arena to make as large a circle as possible. When your horse starts to lean out, make a 90 degree turn to the right toward the centre of the circle. Guide your horse through the turn by applying pressure with your outside rein, following up with outside leg pressure if the horse fails to move off of your rein aid. Your horse should remain straight through the turn, with both shoulders at an even height. “Once the horse’s shoulder is through the turn, release the rein pressure, relax your body, and allow the horse to lope on a straight line through the middle of the circle, like the spoke on a wheel” Cheryl instructs. When you reach the outside perimeter on the opposite side of the circle, make another 90 degree turn to the right and rejoin the circle line.
“Repeat this whenever the horse leans out,” Cheryl advises, “or if the horse speeds up without being asked.”
“The horse may start to feel pushy on the inside shoulder,” warns Cheryl. “But because the goal is to teach the horse to yield from the neck rein, it is important not to use the inside rein to address the inside shoulder. Instead, push the horse forward with both legs to encourage the horse to travel straight and engage from behind.”
Focus on improving one side at a time, and when you feel your horse becoming straighter, change rein and try the Wagon Wheel Drill to the left.
Exercise #2: Squares within Rectangles

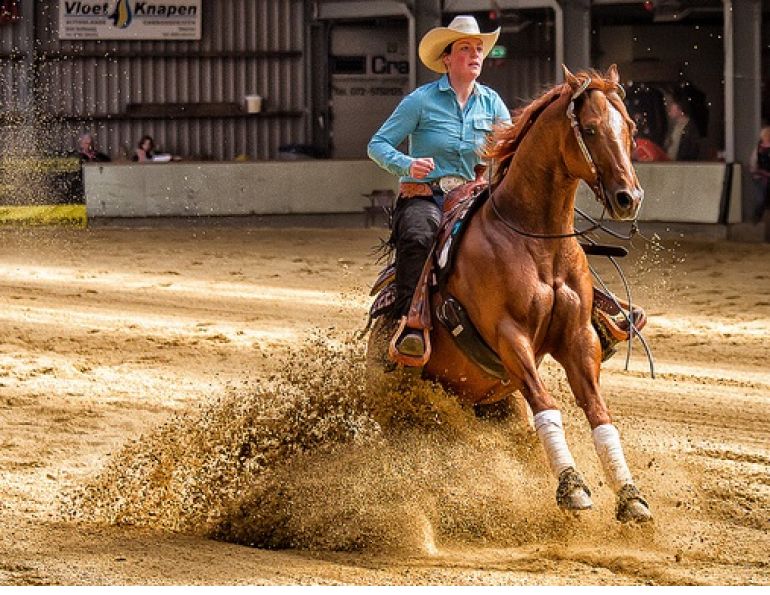
Another turning exercise that Cheryl uses is the Squares within Rectangles pattern, which she credits with promoting straightness in the stops and run-downs, as well as relaxing horses who speed up during run-down work due to anxiety.
In right lead lope, ride a rectangle using the full length of the arena but stay a minimum of ten feet off the track on the long sides. At each of the four corners of your rectangle, ride a 90 degree turn to the right.
“If the horse pushes his shoulder to the outside down the length of the arena, make a 90 degree turn to the right onto a small square,” says Cheryl. “Guide the horse around the four corners of the square and back onto the rectangular perimeter.”
“The key is to apply significant rein pressure during the turn by using a very relaxed arm,” Cheryl continues. “Ensure the horse stays moving forward and from behind while making the turn. Always release the rein pressure after making the turn.”
If the horse starts to feel “chargy” on the short ends of the rectangle, guide him onto a small square and remain very relaxed. Let the square do the work of slowing him down and avoid excessive reprimand, as this will make him even more anxious.
Again, make sure that each of the corners of your rectangle makes a clear 90 degree angle and avoid running ovals when loping the perimeter, as “this allows the shoulders to push unevenly during the run-down, compromising both the distance of the stop as well as the horse’s ability to hold the stop,” Cheryl cautions.
About Cheryl Mitchell

Cheryl Mitchell has competed all over western Canada and the U.S., earning numerous National Reining Horse Association (NRHA) Futurity, Derby, and Ancillary Open Championships. She has also successfully coached and qualified non-professional riders and their horses to compete and place in the NRHA Affiliate Finals in Oklahoma City, OK.
Main Photo: Robin Duncan Photography

Blogs & Podcasts
Articles by Trainer
Advertisement

Related Articles


Advertisement

Featured Stories


Advertisement
