The "Whys" of Good Rider Position

Updated:
March 21, 2018By Lindsay Grice
Q: My daughter has been taking riding lessons for some time now and at each lesson I hear the trainer remind her about her position – heels down, thumbs up, shoulders back, etc. When I asked my daughter the reasons for such attention to a rider’s position, she really couldn’t tell me more than “that’s just the way you do it.” Can you help this horsey mom understand?
A: I missed out on the “whys” in my riding school days as well. It’s a shame because giving some relevance to the “hows” makes concepts easier to learn. So let’s take a look at some principles of correct rider position and I’ll explain why they work.
Eyes and Head: I tell my students that where they look, they will go. It does no good to look down at the pylon you don’t want to run over or the fence post you don’t want to hit. Neither does it help to look in mid air between the horse’s ears. Instead, find a dot in the dirt approximately 40 feet ahead to chart the path in front of you. If you are riding a curve, this will mean turning your head. “Big eyes” take in all that’s going on around you in your peripheral vision and prevent collision with other riders.
Upper Body and Seat: Your upper body needs to be stretched up as if someone were lifting you up by the ears, stretching the curves out of you spine. Leaning forward puts your weight over the horse’s forehand. There is a balance between straightness and stiffness. A stiff back can’t follow the horse’s movement and absorb shock.
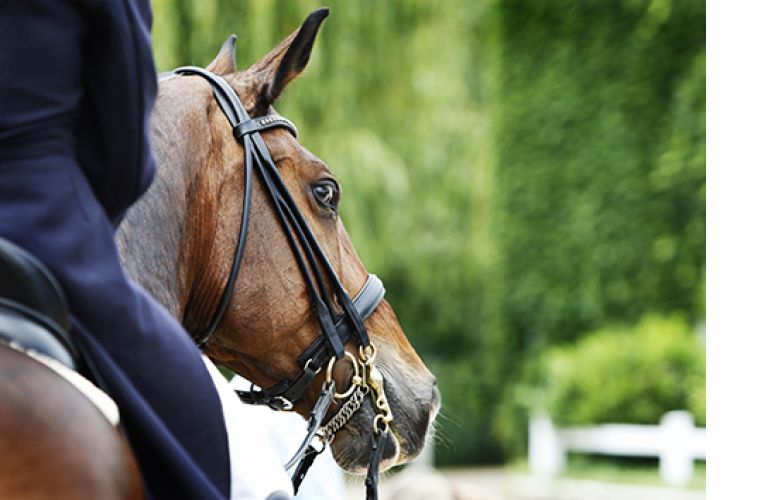
Hands and Arms: When riding with two hands (either Western or English) the rider needs to maintain a straight line from his elbow, to his hand, and through the rein to the corner of the horse’s mouth. Riders who hold their hands either above or below this line sacrifice strength and sensitivity for regulating the horse’s pace or for asking him to collect.
It is important to communicate “yes” immediately to your horse after he has responded to your cues. Many riders forget this positive reinforcement and end up hanging on their horses’ mouths in tug-of-war fashion. I teach my students to return their hands to “home” position over the withers as soon as their horse has responded. Hands are held with soft wrists and at a 45 degree angle whereby only the first two knuckles are visible when glancing down. If the thumbs are turned in toward each other, the elbows will stick out. Keep a soft, straight rein, neither skipping-rope loose, nor guitar-string tight. In order for you to be able to do this without bumping accidentally on your horse’s mouth, you need to develop the same kind of “following” sensitivity that you use when driving in your car over train tracks with a cup of coffee in your hand.
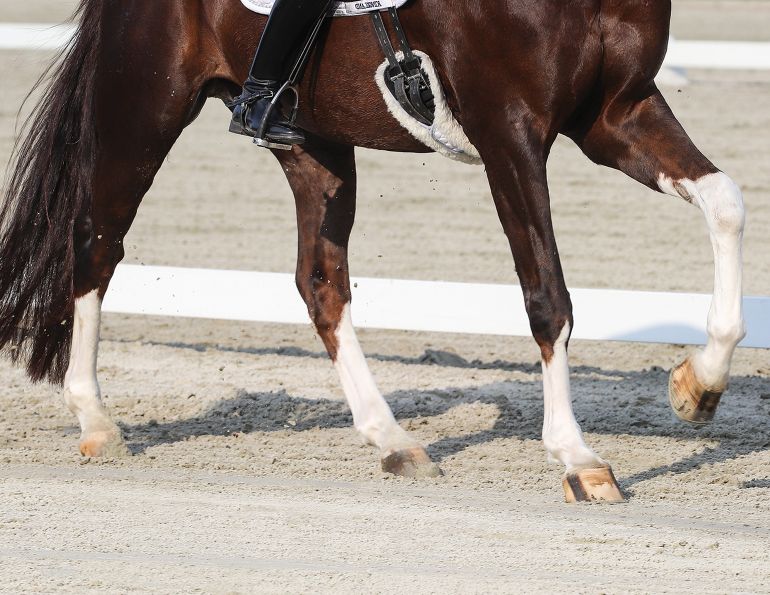
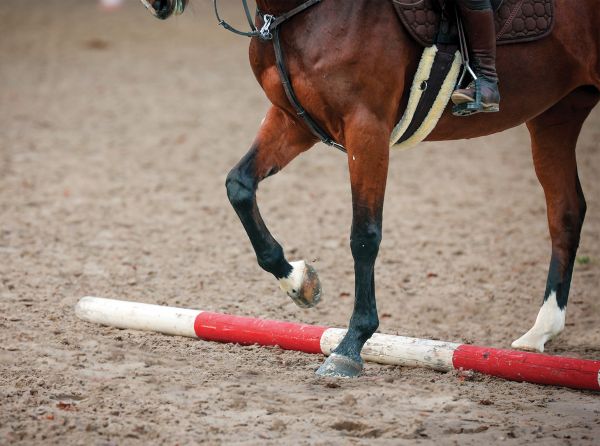
Legs: A rider who has his ear, shoulder, hip, and heel in a line perpendicular to the ground is in balance and isn’t likely to fall forward or backward. Picture the balance needed to stand in the back of a pickup truck, driven over a bumpy field. I mostly see riders with their legs too far forward so that if they glanced down they would be able to see their toe poking out in front of their knee. Stirrup leathers (or Western fenders) should be perpendicular to the ground.
Stirrup length is a few inches longer for Western than for English but with either discipline, your knee and ankle joints need to be bent in order for them to function as shock absorbers.
It takes a bit of practise to push your weight down into your heels. This deepens and strengthens your leg. I like my riders to allow their toes to turn out a little bit which flexes the ankle in and enables them to use the back of the heel and the tip of the spur to communicate more effectively to the horse. A “toe in” position causes the rider to pinch the saddle with her knee, losing contact and stability with her calf.
In lessons, I give my students various exercises that address any position problems they may have and we work on them in three minute segments, like commercials in between other work we are doing. This avoids muscle fatigue that could lead to sloppy practice, developing another bad habit en route to correcting an existing one.
Practising and perfecting correct riding position is like a carpenter skilfully using his tools and keeping them sharp. This enables you to ride effectively.
Related: Eyes Up and Ahead
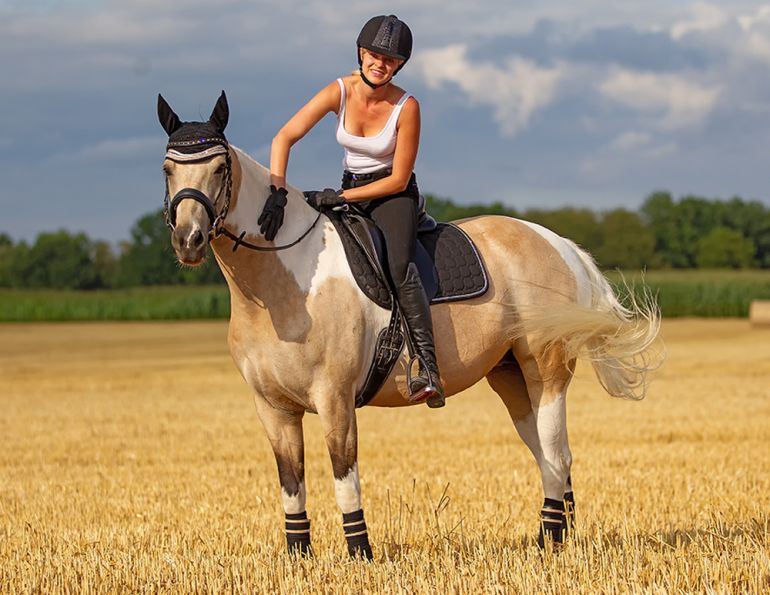
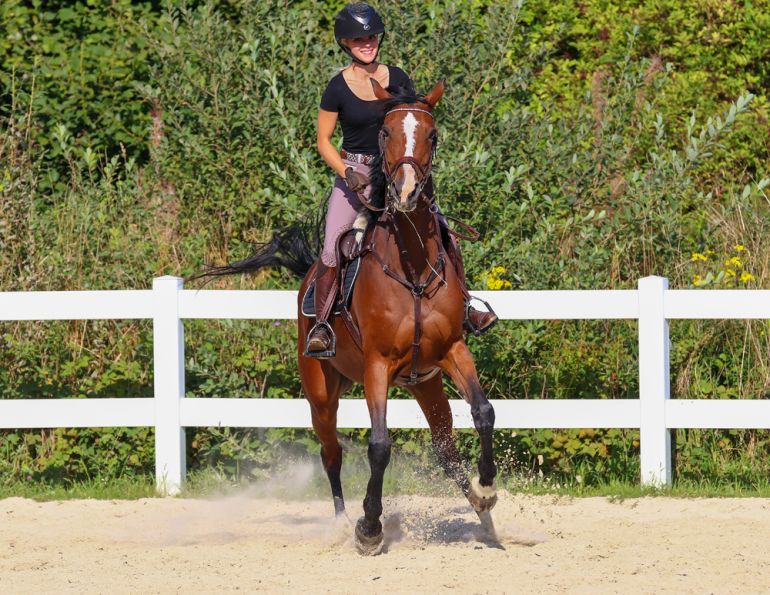
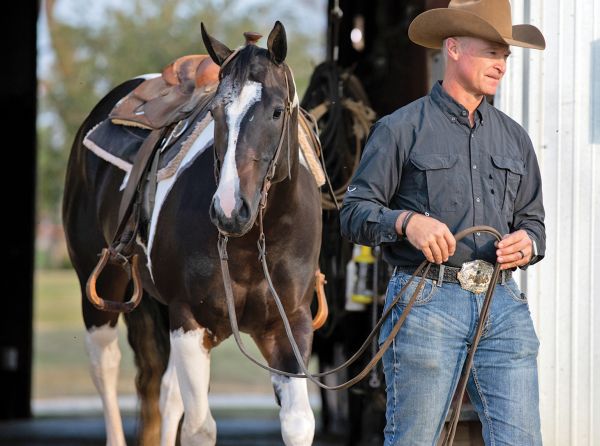
Main Photo: Understand and practise correct riding position to become more effective in the saddle. Credit: Robin Duncan Photography

Blogs & Podcasts
Articles by Trainer
Advertisement

Related Articles


Advertisement

Featured Stories

Advertisement