How to Tidy-Up Clip - Face, Bridle Path, Legs

Updated:
September 14, 2022By April D. Ray
The first step to any clipping job, whether a full body clip or just a quick tidy up, should be proper clipper maintenance. Using clean, sharp blades that are well-oiled will improve the results of your clip and increase the lifespan of your clippers. Always inspect the clipper and any extension cords you are using to ensure they are in good repair.
Whether you have a hairy beast because you’ve avoided doing a full body clip during wintertime, or you’re getting ready for show season, pulling out your clippers and doing a quick cleanup can make a world of difference when it comes to the overall turnout of your horse.

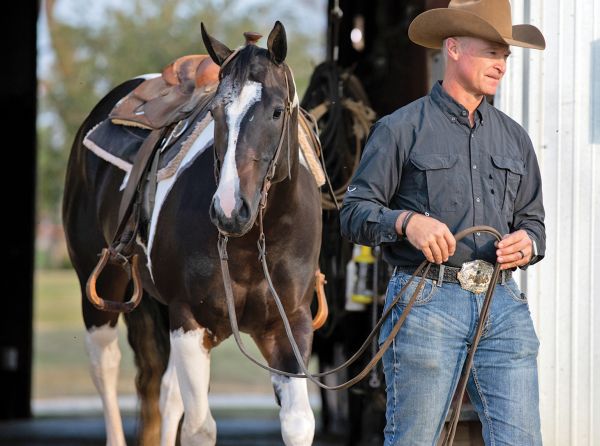
To achieve a tidier look, trim the hair around the jawline and cheekbones, ears, bridle path, and legs. If your horse isn’t used to clippers, a small clip job like this can be an excellent opportunity to get him accustomed to them. Sometimes just the sound of the clippers can be very frightening to a horse so allow him plenty of time to get used to the sound before starting to clip. The vibrations of the clipper can also be off-putting and can take some getting used to. Some horses, like my mare Fire Foot MR5, are just fine with clippers, while others may need lots of time and patience or even require sedation to clip safely.
You will need:
- Clippers
- Extension cord
- Blade oil
- Brush to clean blades
- Stool
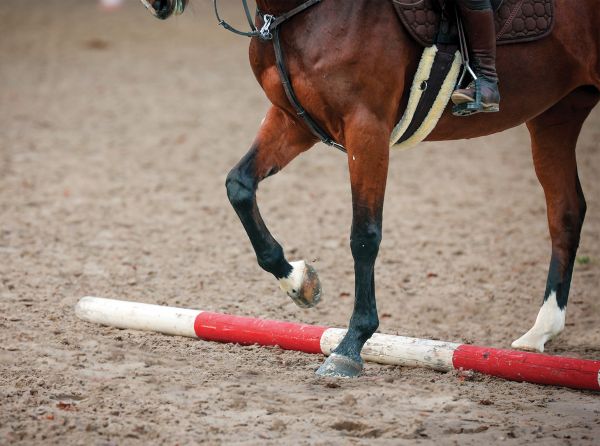
Make sure your horse is clean and dry before clipping. For this type of job, I find it’s easiest to start at the legs. This gives the horse a chance to get used to the sound of the clippers before going to their face, which can be more challenging to work around. Clipping around the bottom of the fetlock and the ergot will clean up the look of the legs, especially if they have long feathers there (Photo 1). You might also need to do a quick pass of the clipper down the backs of the legs, depending on how long the hair has grown (Photo 2). You will want to come at each leg from every angle to get all the excess hair, and it’s helpful to clip the inside of each leg from the opposite side of the horse, if safe to do so. You can also trim the hair around the coronet band if it’s exceedingly long (Photo 3).
Related: How to Train a Horse's Mane

Keep the bridle path short, between two or three inches long, right where your bridle and halter will sit. Keeping a trimmed bridle path not only looks good but is more comfortable for your horse (Photo 4). Moving from the bridle path to the ears, I like to tidy up the hair without completely hollowing out the inside (Photos 5,6). Often this can be the most challenging part to clip on a horse; putting in ear stuffies to dull the noise can help, and just being patient and rewarding good behaviour will go a long way.


Finally, a quick clean up under the jaw and cheekbone. I like to clip here in a downward direction with the blades facing up (Photo 7). Since you are just cleaning up the long hairs in this area, doing this will avoid any obvious lines and blend much better. I leave the whiskers as I feel the horse needs them more than I need them gone, but that’s a personal choice. Now your horses’s transformation should be complete from wild and woolly to neat and tidy!

After each use, clean and oil your blades so they’re ready for the next time.
Related: Grooming at the Top
To read more by April Ray on this site, click here.
All photos are by Donald Peterson unless otherwise noted.
Main photo: Ella Degea Photography

Blogs & Podcasts
Advertisement

Related Articles


Advertisement

Featured Stories


Advertisement