Teaching Your Horse to Neck Rein

Updated:
February 25, 2013By Lindsay Grice
Q Although I ride my gelding with one hand in Western Pleasure, when I try to ride off the rail in patterns and circles, he doesn’t have much of a “handle,” often turning his head in the opposite direction of where I’m trying to steer him.
A Moving from direct reining in a snaffle bit to neck reining in a curb is like teaching your horse a new language and it takes time. Like every child graduates from elementary to high school, neck reining is the next step in a Western horse’s education. By the time your horse is six, he must be ridden with one hand and a curb bit at the breed shows. I usually introduce horses to the curb in their three-year-old year, when they’re ready to begin the pattern classes such as horsemanship and trail. The leverage action of the curb affords the subtle power steering needed for these precise classes.
Theory
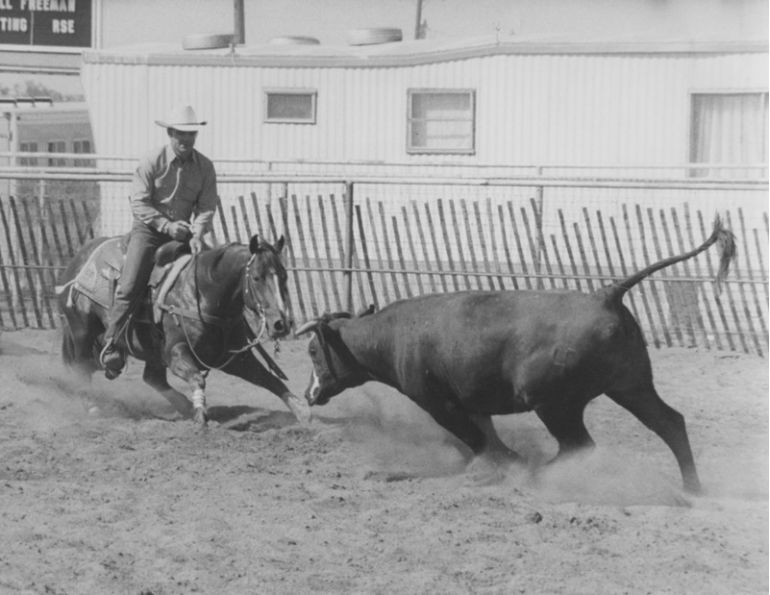
If you compare your horse to a train, the neck rein controls the front two train cars only — the head and neck. The rest of the train is controlled by your leg. Think about riding with 80 percent leg and 20 percent hand. You should be able to point the head and neck of your horse in one direction while moving the ribs and hips independently to conform to the arc of a circle.
In neck reining, your horse learns to move those first train cars in the opposite direction of the push he feels on his neck from the rein. He moves away from each light rein touch on his neck as if it was hot.
Many people try to take a short cut by slipping their index finger down between the reins to direct rein, pulling the horse’s nose rather than pushing his neck. This is not true neck reining.
Technique
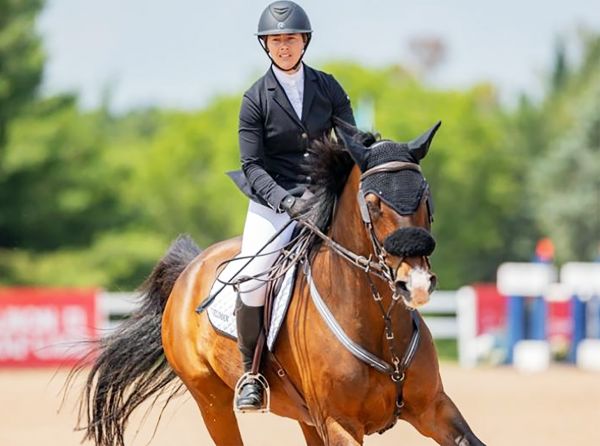
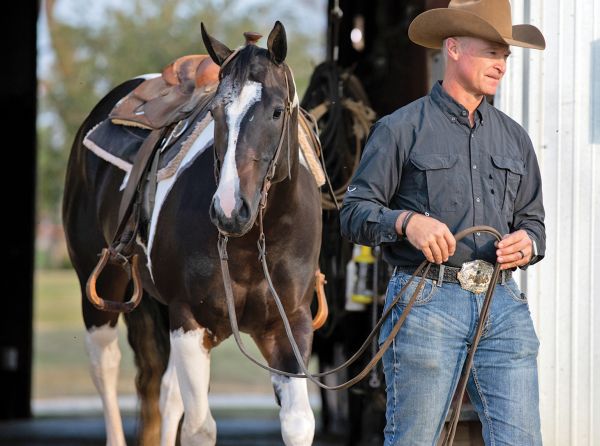
When slowing or collecting, I move my rein hand up toward my chest and, when steering, toward one shoulder or the other. My hand comes up above the level of my elbow and my upper arm stays close to my body for stability. When the horse responds, I lower my hand to the area of the saddle horn as a reward.
|
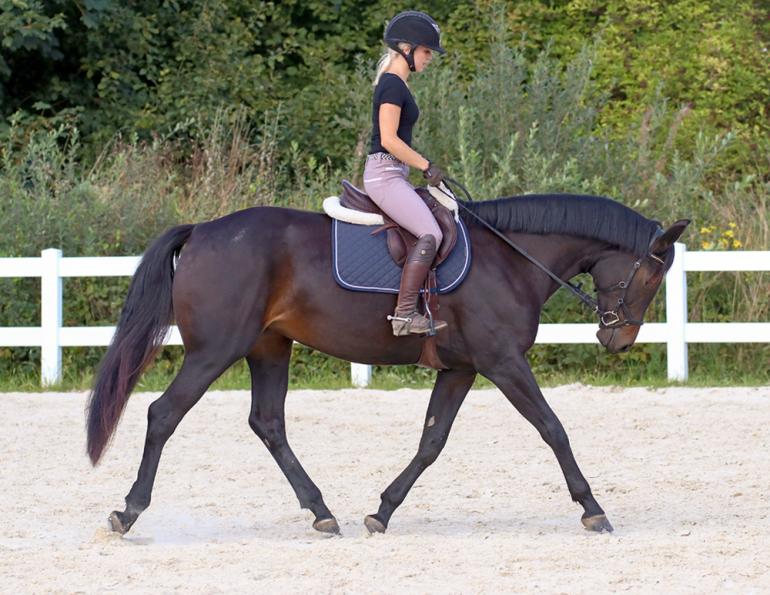
Teach your horse that each time he responds to the pressure of the rein on his neck, he will get a release. |
 Photo: Robin Duncan Photography
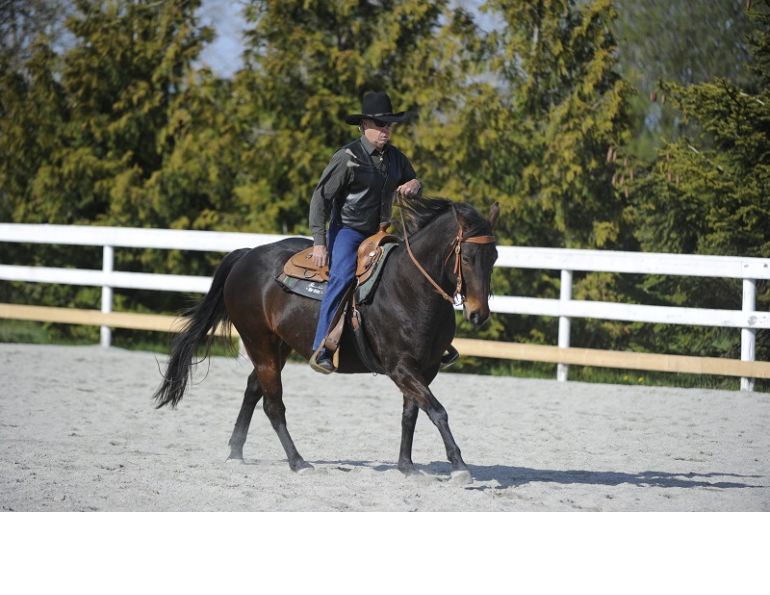
Some riders jam their rein hand down near the withers and lock their elbow. Not only does this look stiff and unnatural, the horse feels the tension and will quicken in response. A soft, following arm gives the horse a “yes.” As I glance down I can always see my first two knuckles on top, avoiding twisting my hand. I tell students that they shouldn’t see their fingernails.
The tails of the reins should fall on the same side of the neck as the hand you’re using to hold the reins. It’s traditional to hold the reins in your left hand, leaving your right hand for roping cattle, but riders are free to use the hand they prefer.
Training
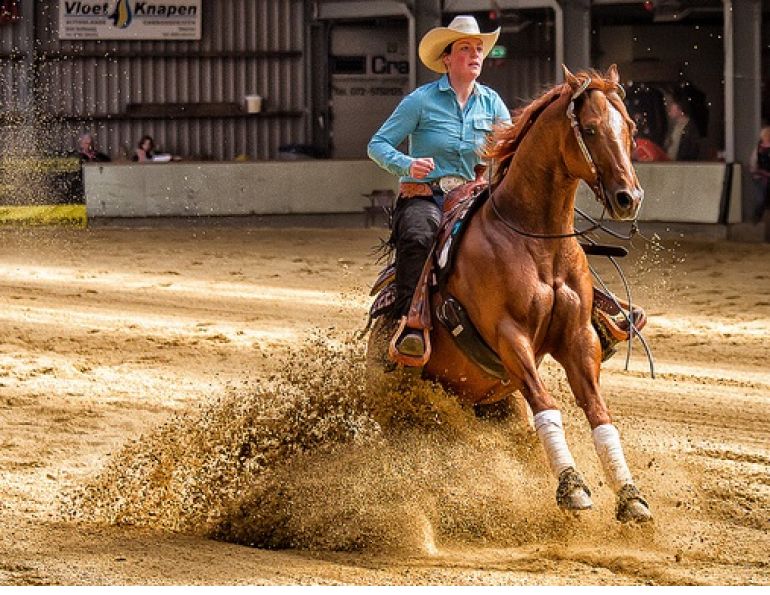
Your horse needs to figure out that he will get freedom, or release — the rein will go slack on his neck — each time he moves his neck and head away from the pressure of the rein. This is how you will deliver a “yes” to your horse for a correct response. This is the part that takes time. Around a circle, for instance, you may repeat the cycle of applying neck pressure and then softening the instant the horse moves his neck to the inside many different times for multiple “mini turns.”
Avoid neck reining so hard that your horse counter bends his head to the outside. Use the direct rein as a help in the initial stages to guide the horse’s nose away from outside rein pressure; reach down with your free hand to use the direct rein (left rein to turn the nose left) as you maintain pressure on the neck with your rein hand. As soon as he turns his neck and head away from the pressure, release both the direct and neck rein.
As with anything, repetition is the key. Avoid moving on to the trot until your horse is steering reliably at the walk. A horse with a good handle, who is light and responsive to the neck rein’s slightest pressure, is a joy to ride.
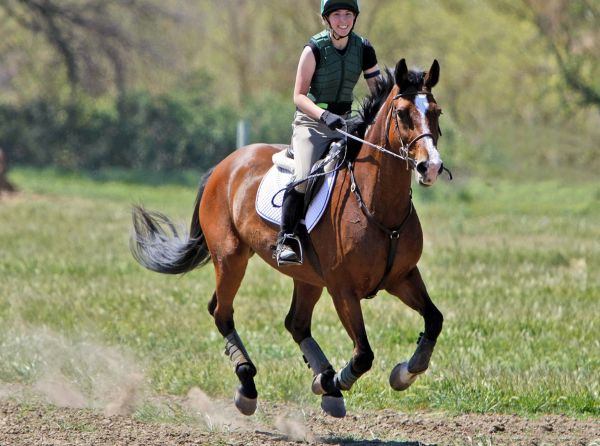
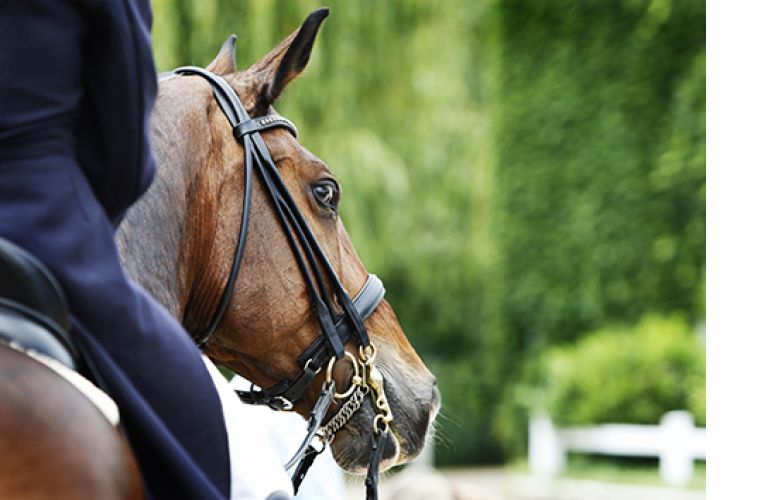
Main Article Photo courtesy of Lindsay Grice - The correct hand position for neck reining. Your upper arm should stay close to your body for stability, your elbow soft and following, and your hand up. You should be able to see the top of the knuckles on your first and second fingers, but not your fingernails.
This article originally appeared in the February 2011 issue of Canadian Horse Journal.


Blogs & Podcasts
Articles by Trainer
Advertisement

Related Articles


Advertisement

Featured Stories

Advertisement